

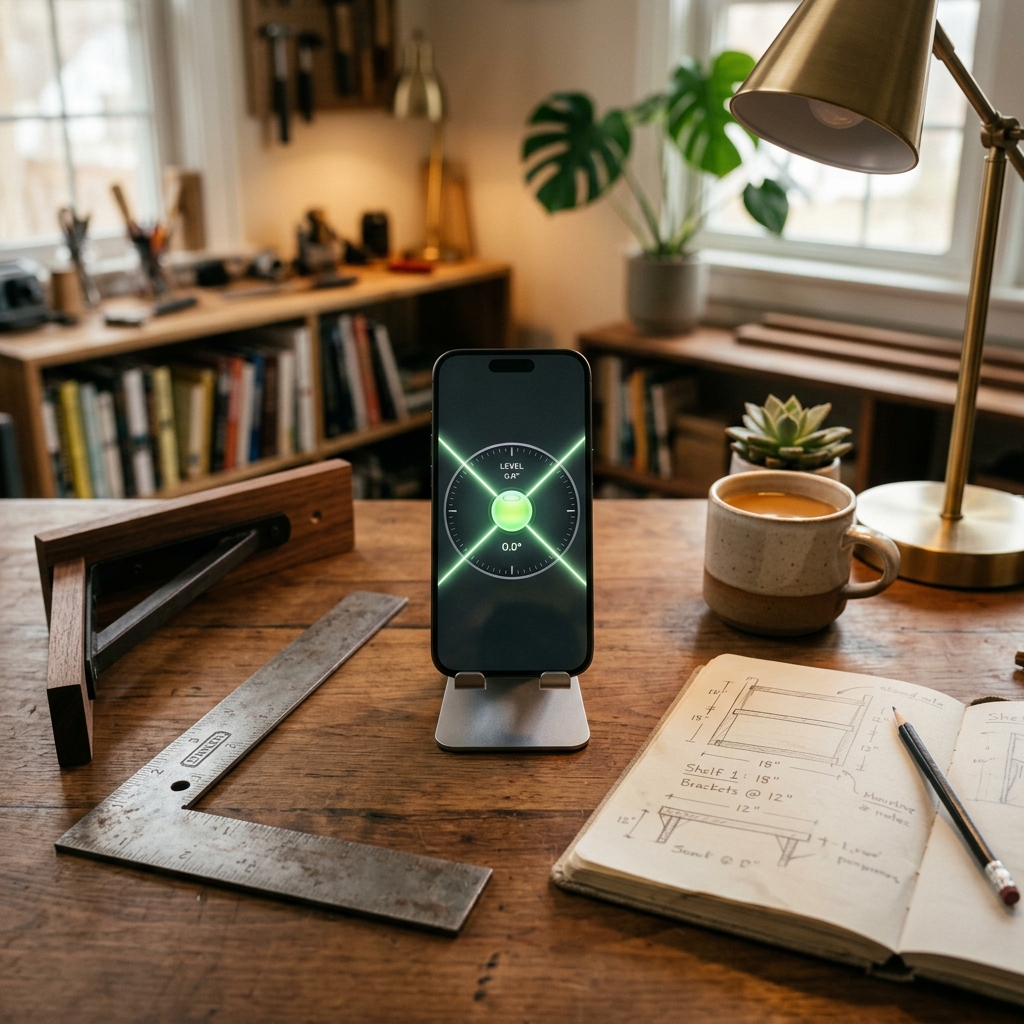
To calibrate your iPhone level tool, place your device on a known flat surface, open your level app, and use its built-in calibration feature to zero out any sensor offset. This corrects gyroscope and accelerometer drift so your readings are accurate.
Calibrating your iPhone level tool takes less than two minutes and makes a significant difference in measurement accuracy. Most professional level apps, including LevelPro, offer a dedicated 2-step calibration process: you place the device flat, tap to set the zero reference, then rotate it 180° and confirm. This two-point method cancels out hardware bias in the accelerometer, giving you readings you can trust on job sites, in the workshop, or at home.
Why Calibrating Your iPhone Level Tool Matters
Ever hung a shelf that looked straight to the eye but sat visibly off-kilter once you stepped back? Your iPhone level tool may have been the culprit. Knowing how to calibrate your iPhone level tool is one of those small skills that pays outsized dividends, whether you're a professional contractor, a passionate DIYer, or a photographer trying to nail a perfectly horizontal camera rig.
iPhone level tools rely on the device's built-in accelerometer and gyroscope to determine tilt and angle. These sensors are remarkably capable, but they're not immune to drift. Over time, or after a major iOS update, the sensor's zero reference can shift slightly, turning a trustworthy tool into a source of subtle, hard-to-catch error.
Here's what uncalibrated sensors can cause in practice:
- Shelves and frames that look level in the app but sit 0.5°–2° off in real life
- Tile and flooring installed with a barely-perceptible but permanent slope
- Roof pitches and angles measured inaccurately, leading to costly material waste
- Camera and monitor rigs that introduce unwanted tilt into professional shoots
Calibrating takes less than two minutes, and you'll end up with a sensor that's genuinely zeroed, not just zeroed to whatever position it happened to be in.
Below, you'll learn exactly how to calibrate your iPhone level tool for accurate, reliable measurements every time. We'll walk through the process using LevelPro, a professional digital spirit level app with an intelligent 2-step calibration system specifically designed to cancel out hardware bias, something Apple's built-in Measure app doesn't offer.
Step 1: Set Up Your Workspace and Choose the Right App
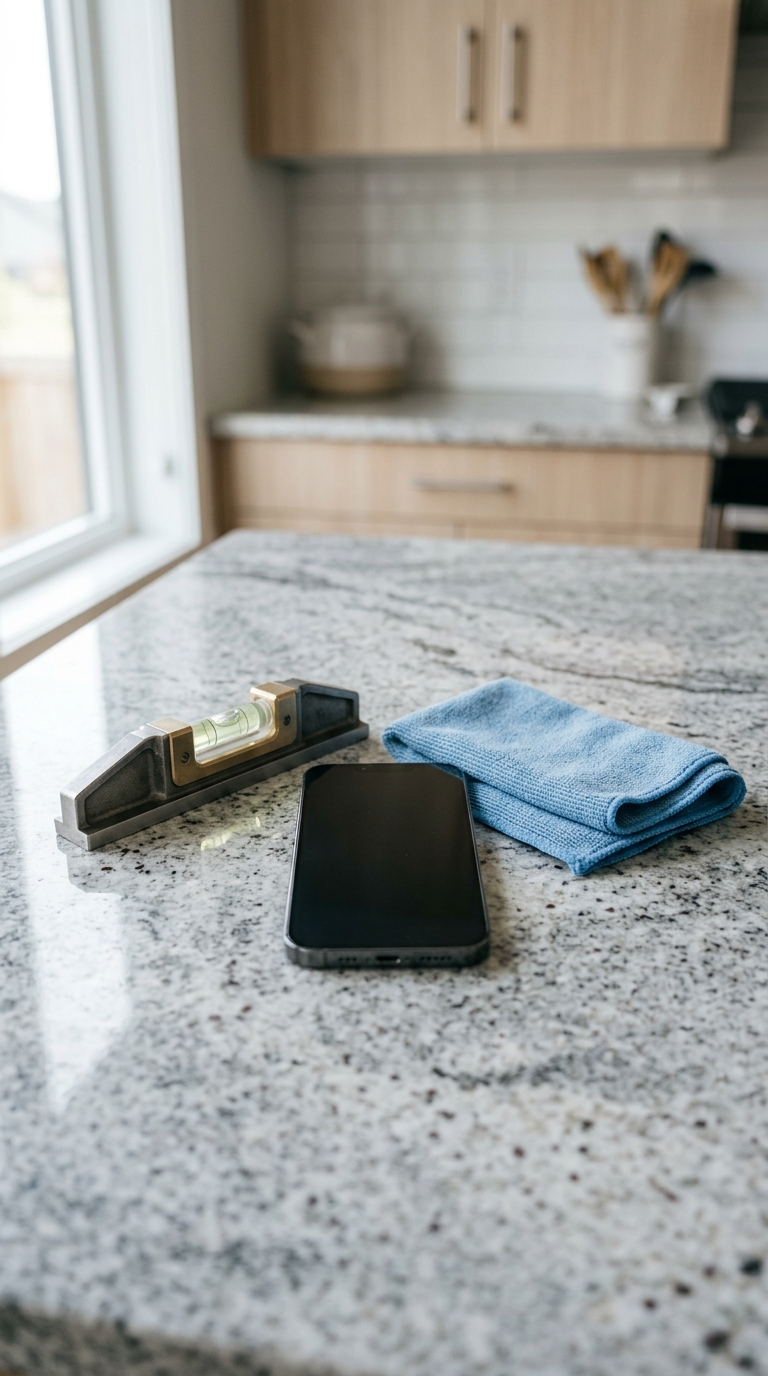
Good preparation separates a calibration that holds for months from one that drifts before your next project is done. Taking two minutes to set up correctly is the difference between a level tool you trust and one you constantly second-guess.
Choose a Reliable Reference Surface
The single most important variable when calibrating your iPhone level tool is the surface you calibrate on. Your calibration is only as accurate as your reference. Here's what works, and what doesn't:
- ✅ Granite countertop — exceptionally flat, thermally stable, ideal
- ✅ Machinist's surface plate — the gold standard for any precision calibration
- ✅ Glass table surface — good for home use, but check for warping first
- ✅ A trusted spirit level placed on a flat surface — a verified reference you already own
- ❌ Wooden floors or shelves — too prone to subtle warping and flex
- ❌ Carpet or soft surfaces — will introduce error immediately
- ❌ Surfaces near heavy machinery or HVAC vents — vibration and airflow affect sensor readings
For professional work, a quick check of the surface itself before calibrating is always worth the 30 seconds it takes.
Download a Level App With a Proper Calibration Workflow
Apple's built-in Measure app includes a rudimentary level, but it offers no dedicated calibration system. For accurate, repeatable results, you'll need a third-party app that supports true two-point calibration, the method that actively cancels hardware bias rather than simply zeroing to the current position.
LevelPro is built for exactly this. Its intelligent 2-step calibration system walks you through the process using two opposite positions to mathematically eliminate the sensor's inherent offset.
Pre-Calibration Checklist
Run through this quick checklist before you begin:
- Remove your iPhone case if it's thick or uneven, as it can affect how the device sits on a surface
- Clean the back of your iPhone — dust or debris under the device introduces tilt
- Let your iPhone reach room temperature — sensors can drift when the device is unusually warm or cold
- Disable active notifications or calls — vibration during calibration can corrupt the reading
- Ensure your iPhone has adequate battery — a charging cable pulling on the device can skew results
With your surface chosen, your app downloaded, and your checklist cleared, you're ready to move into the calibration itself.
Step 2: Run the Two-Point Calibration in LevelPro

With your surface prepared and your app ready, it's time to run the calibration itself. Most people skip this step entirely, or do it only halfway, which is exactly why their readings stay unreliable. Follow this sequence precisely and your iPhone level tool will be genuinely accurate, not just approximately zeroed.
Open LevelPro and Navigate to Calibration
Launch LevelPro on your iPhone. From the main screen, tap the Settings icon to access the calibration workflow. You'll see the dedicated calibration section clearly labelled — this is the intelligent 2-step system that sets LevelPro apart from basic level apps.
Before tapping anything, place your iPhone face-up on your reference surface with the case removed and the device sitting completely flat. Give it two or three seconds to settle; the accelerometer needs a moment of stillness before it records a meaningful reading.
Step 2a — Set the First Reference Point (0°)
At this stage, the app has captured the sensor's raw output at what you're defining as true horizontal. Nothing has been corrected yet — that's what step two is for.
Step 2b — Rotate 180° and Confirm
This second position is what makes two-point calibration genuinely effective. By measuring the same surface from the opposite orientation, the app can mathematically calculate and cancel out any hardware bias in the accelerometer, bias that a simple one-point zero can never detect.
LevelPro computes the midpoint between both readings and sets that as your true zero reference. Any offset in the sensor hardware is factored out until you recalibrate.
What to Expect After Calibration
Once complete, you should notice:
- The display reads 0.0° when the device is flat on your reference surface from any orientation
- Rotating your iPhone 180° still shows 0.0° — the two-point method has done its job
- Small phantom angles (0.1°–0.5°) that previously appeared on flat surfaces should now disappear entirely
If you're planning to use LevelPro for wall or edge measurements too, the same calibrated sensor data flows directly into Tubular mode — no second calibration needed.
Common Mistakes to Avoid
- Touching the screen while it's settling — even light finger contact can shift the device slightly
- Calibrating on an unverified surface — if your reference is off, your calibration will be too
- Skipping the 180° rotation — a one-point zero corrects nothing; it just relocates the error
- Rushing between steps — give the accelerometer two to three full seconds of stillness at each position
Done correctly, the whole process takes under 90 seconds.
You Now Know How to Calibrate Your iPhone Level Tool — Here's What's Next
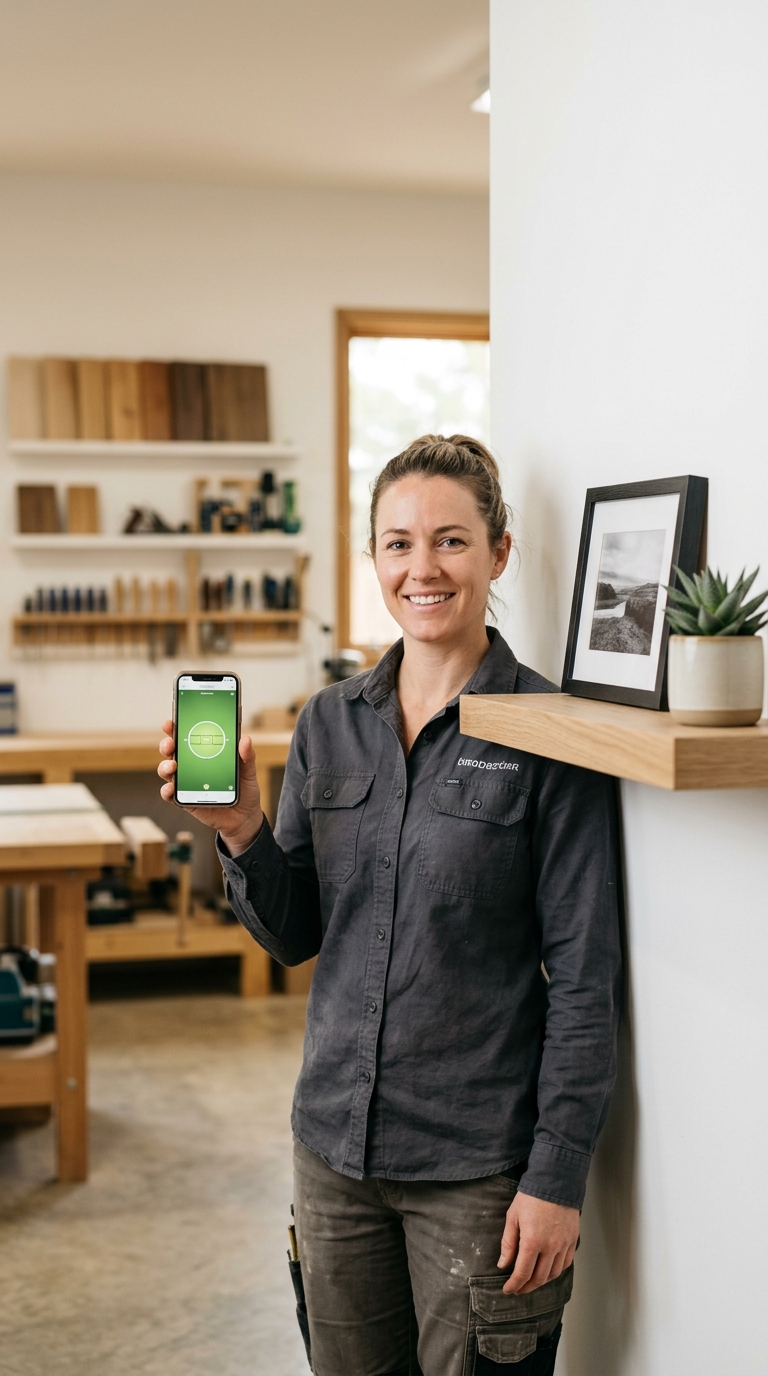
Calibration isn't a one-time event. It's a habit that separates professionals who trust their tools from those who double-check every measurement with a second device. Now that you know exactly how to calibrate your iPhone level tool using LevelPro's intelligent 2-step system, you've got a sensor-accurate reading you can act on with confidence.
To recap what you've covered:
- Why calibration matters — uncalibrated accelerometers drift, turning a capable tool into a source of compounding error
- How to set up correctly — reference surface selection, case removal, and pre-calibration checks that make the process reliable
- How to execute the two-point calibration — the 0° position, the 180° rotation, and why both steps are required for true accuracy
The two-point method you've followed here is the same principle used in professional survey instruments and precision machining tools.
When to Recalibrate
Make it a habit to recalibrate in these situations:
- Before any precision project — walls, floors, tiles, structural work
- After a major iOS update — software changes can shift how sensor data is interpreted
- If readings seem inconsistent — a quick recalibration takes 90 seconds and rules out the most common cause
- After dropping your iPhone — physical impact can affect sensor alignment
Keep Exploring Precision Measurement
Building confidence with digital levelling tools? Comparing leading options across accuracy, features, and design gives useful context if you ever want to evaluate alternatives or recommend a tool to a colleague.
Expanding beyond flat surfaces into wall-mounting, camera alignment, or angled cuts? A properly calibrated app transforms those tasks from frustrating to straightforward.
Your iPhone level tool is now dialled in. Use it.
LevelPro: Built-In Calibration That Actually Works
LevelPro's intelligent 2-step calibration system uses a two-position method that actively cancels out accelerometer hardware bias, meaning your iPhone level tool is genuinely accurate rather than just zeroed to whatever position it was in. Once calibrated, you can work in Bullseye mode for flat surfaces or switch to Tubular mode for edges and vertical faces, confident that your sensor data is clean. Need to freeze a reading while working in a tight spot? The Hold function locks your measurement in place. Chasing a specific pitch or angle? Target Angle mode guides you with haptic and audio feedback until you hit the mark. LevelPro is available on iPhone and iPad, with an Apple Watch companion for hands-free readings — all features unlocked with an active subscription.
Ready for Readings You Can Trust?
Calibration is only as good as the tool behind it. For a professional-grade level experience on your iPhone, with a proper 2-step calibration workflow, AR camera mode, and Apple Watch support, give LevelPro a try. Download it and see the difference accurate calibration makes on your next project.
Frequently Asked Questions
Why is my iPhone level tool showing inaccurate readings?
iPhone level tools rely on the built-in accelerometer and gyroscope, which can drift over time or after a software update. Calibrating your app resets the zero reference point and corrects for this hardware bias, restoring accurate readings.
How often should I calibrate my iPhone level tool?
Calibrate whenever readings seem off, after a major iOS update, or before any precision task. For professional use, a quick calibration check before each project is recommended.
Does Apple's built-in level app support calibration?
Apple's Measure app includes a basic level, but it doesn't offer a dedicated calibration workflow. Third-party apps like LevelPro provide an intelligent 2-step calibration system designed for professional accuracy.
What surface should I use to calibrate my iPhone level tool?
Use the flattest surface available — a granite countertop, a machinist's surface plate, or another trusted reference surface. The flatter your reference, the more accurate your calibration will be.
Can I calibrate my iPhone level tool for angled measurements?
Yes. Advanced level apps like LevelPro let you set a custom target angle, so you can calibrate around a specific angle rather than just zero degrees. That's useful for cutting crown moulding, setting roof pitches, or aligning camera rigs.