

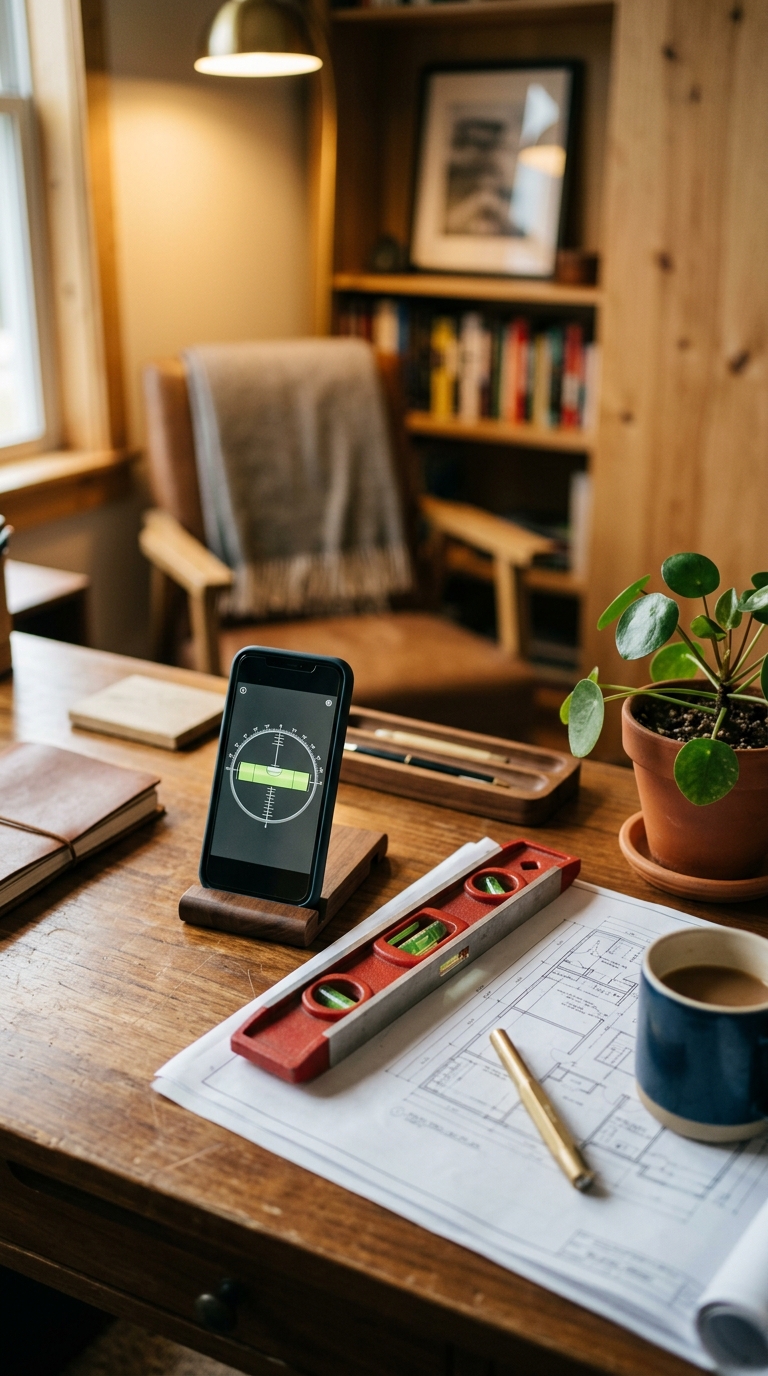
To check if a surface is level, place a spirit level or a digital level app flat on the surface and read the bubble or angle indicator. A perfectly level surface reads 0°. For edges and vertical surfaces, switch to a tubular or edge-detection mode.
Checking whether a surface is level comes down to measuring its angle relative to true horizontal (or vertical). Simply lay a spirit level or open a digital level app on your iPhone directly on the surface. If the bubble sits centered between the lines, or the display reads 0.0°, you're level. For more demanding tasks like tiling, cabinetry, or photography setups, a precision digital tool with calibration support gives you far more reliable readings than a cheap plastic bubble level, especially on angled or uneven subfloors where even a fraction of a degree matters.
Why Knowing How to Check If a Surface Is Level Matters More Than You Think
Whether you're hanging a gallery wall, tiling a bathroom floor, installing kitchen cabinets, or mounting a flat-screen TV, one thing determines whether the finished result looks professional or frustrating: whether your surface is level.
A surface that's off by just half a degree can cause tiles to crack under pressure, shelves to visibly slope, or a mounted TV to sit at an awkward angle you'll notice every single day. That's why knowing how to check if a surface is level accurately, not just approximately, is one of the most valuable skills in any DIY or professional toolkit.
You don't need expensive equipment or years of trade experience. With the right method and the right tool, you can get a precise, reliable reading in seconds. Here's what this guide covers:
- What "level" actually means (and how it differs from "plumb")
- Which tools to use — from classic spirit levels to precision iPhone apps
- How to check flat surfaces, edges, and vertical walls with confidence
- Pro tips for accurate results even on tricky or uneven subfloors
By the end, you'll have everything you need to approach any leveling task with the same precision a professional would bring to the job.
Step 1: Choose the Right Tool and Set Up Your Workspace
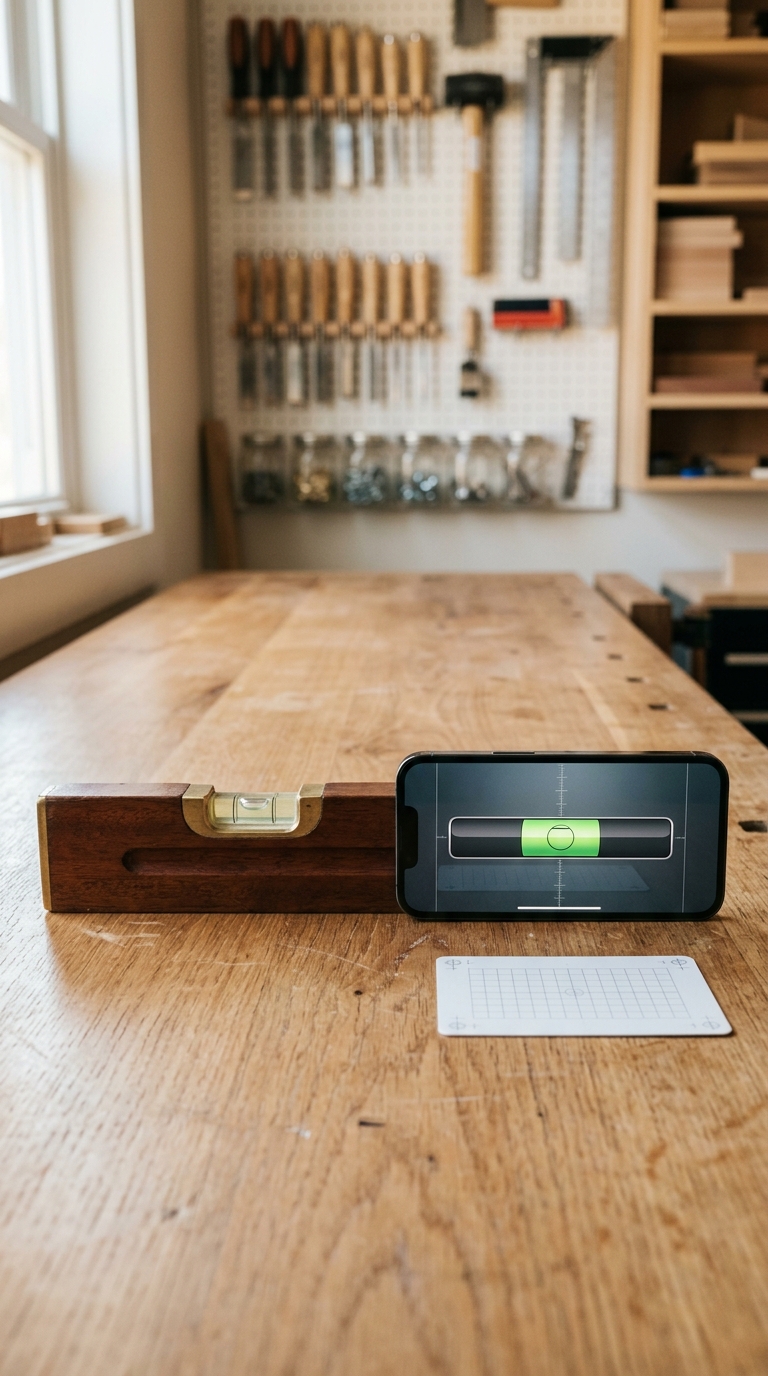
Before taking a single measurement, the most important decision you'll make is which tool to use. Not all level tools are created equal, and using the wrong one for the job — or using the right one incorrectly — is the fastest route to an inaccurate reading.
Your Main Options for Checking If a Surface Is Level
- Traditional spirit (bubble) level — A physical tool with one or more fluid-filled vials. Reliable for general carpentry and construction, but accuracy depends heavily on the quality of the level and how carefully you position it.
- Digital level — A hardware device with an electronic angle sensor and a numeric display. More readable than a bubble level and often more precise.
- Smartphone level app — Uses your iPhone's built-in accelerometer to measure surface angle in real time. A high-quality app like LevelPro can match or exceed the accuracy of dedicated hardware, especially when properly calibrated. If you're new to this approach, our guide on how to use a bubble level on iPhone walks you through the basics.
How to Prepare Your Workspace
Once you've selected your tool, take a few minutes to set up properly. It makes a meaningful difference in the reliability of your results:
A Note on Temperature and Environment
Working outdoors or in a space with significant temperature variation? Be aware that extreme heat or cold can affect both the fluid in a spirit level and the sensors in a smartphone. Let your tools adjust to the ambient temperature for a few minutes before taking readings, particularly for precision work like tiling or cabinet installation.
With your workspace prepared and your tool calibrated, you're ready to take your first measurement. For a look at what separates a basic level app from a more precise instrument, this breakdown of the best spirit level apps for iPhone is worth reading before you start.
Step 2: Take Your Level Reading — Flat Surfaces, Edges, and Walls

With your tool calibrated and your workspace prepped, it's time to take the actual measurement. Technique varies slightly depending on whether you're checking a flat horizontal surface, a vertical wall or post, or an edge or frame, so let's walk through each scenario.
Checking a Flat Horizontal Surface
Countertops, floors, shelves, tabletops, and subfloors all fall into this category — it's the most common situation you'll encounter.
Checking a Vertical Surface (Plumb)
Walls, door frames, posts, and tile edges need to be plumb — perfectly vertical — rather than level. It's a different measurement but just as critical.
- Place your level vertically against the surface, with the edge making full contact from top to bottom.
- In LevelPro, switch to Tubular mode, which is optimized for edge and vertical measurements and displays a linear bubble indicator rather than a circular one.
- A perfectly plumb surface reads 90°. Readings of 89.2° or 91.4° tell you exactly how far out of plumb the surface is, and in which direction.
Checking an Edge or Frame
For picture frames, door frames, windowsills, or shelf brackets, you'll often need to measure a narrow edge rather than a broad face.
- Rest the edge of your iPhone or level tool directly against the frame's face, keeping firm, consistent contact.
- Use LevelPro's Hold function to freeze the reading the moment you achieve a stable position. This is particularly useful in awkward spots where you can't easily read the display while holding the device.
- Working with a non-standard target angle, like a raked ceiling or an angled camera rig? LevelPro's Target Angle mode lets you set a custom reference angle and alerts you with haptic and audio feedback when you hit it.
Common Mistakes to Avoid
- Pressing too hard against a surface. Applying pressure can flex a thin shelf or panel, creating a false reading. Rest the tool gently.
- Measuring on a dusty or textured surface. Any texture under the tool creates a micro-gap that tilts your reading. Sweep the area clean first.
- Only taking one reading. A single measurement is rarely enough. Always cross-check along both axes and at multiple points along longer surfaces.
- Moving too quickly. Digital sensors need a moment to stabilize, especially just after you've moved the device. Wait for the reading to settle before recording the value.
For anyone regularly working with picture hanging or frame alignment, this guide to the best level apps for hanging pictures covers some finer techniques. To compare how different apps handle these modes, the best free bubble level app roundup gives a useful overview of what's available.
You Now Know How to Check If a Surface Is Level — Here's What to Do Next

Leveling might seem like a small detail, but it's the kind of detail that separates work you're proud of from work you'll want to redo. Whether you're laying a tile floor, installing kitchen cabinets, mounting a TV, or hanging a frame, knowing how to check if a surface is level precisely is a foundational skill that pays off on every project.
Here's a quick recap of the key takeaways:
- Choose the right tool for the job. A spirit level works for basic tasks, but a properly calibrated digital level app gives you more precision, flexibility, and readability, especially in tight or awkward spaces.
- Always calibrate before you measure. Skipping calibration is the most common reason DIYers get inaccurate readings. A two-step routine like the one built into LevelPro takes less than a minute and meaningfully improves your results.
- Check multiple axes and multiple points. A surface that reads level along one axis may still be tilted on the other. Large surfaces like floors can also dip or crown between measurement points.
- Use the right mode for the right surface. Bullseye mode for flat horizontal surfaces, Tubular mode for vertical edges and walls, and Target Angle mode for any non-standard angle requirement.
To go deeper on any particular aspect of digital leveling, this guide to using a bubble level on iPhone is a natural next step. It covers sensor behavior, mode selection, and practical positioning tips in detail. And if you're still comparing options, the best free level app roundup for iPhone gives a clear look at what's available in 2025.
For work where a fraction of a degree genuinely matters, LevelPro delivers the accuracy, design, and professional feature set to match.
LevelPro: The Precision Level App Built for Professionals
LevelPro turns your iPhone or iPad into a professional leveling instrument. Two dedicated modes cover every common scenario: Bullseye for checking flat horizontal surfaces and Tubular for vertical edges and walls. Before you measure, the 2-step calibration system corrects your device's sensor for maximum accuracy. Working in a tight or awkward spot? The Hold function freezes the reading so you can step back and check it without the display shifting. You can also set a custom Target Angle with haptic and audio feedback, which is useful for angled installations like camera rigs or raked ceilings. For hands-free convenience, real-time measurements stream directly to your Apple Watch. LevelPro is available via subscription, giving you access to every feature — AR Camera mode, multiple measurement units, and more — across iPhone and iPad.
Start Measuring with More Confidence
Download LevelPro and check surfaces with the precision of a professional instrument, right from your iPhone. Whether you're hanging a shelf or laying a subfloor, accurate leveling starts here.
Frequently Asked Questions
How do I know if a surface is perfectly level without a level tool?
Try placing a glass of water on the surface. If it sits evenly without tilting toward one side, the surface is roughly level. That said, it's only a rough check. For any task requiring precision, a digital level app or spirit level is strongly recommended.
Can I use my iPhone to check if a surface is level?
Yes. A dedicated iPhone level app like LevelPro uses the device's built-in sensors to measure surface angle in real time. It's more accurate than many physical bubble levels and offers additional modes for flat surfaces, edges, and custom target angles.
What angle reading means a surface is level?
A reading of 0.0° indicates a perfectly level (horizontal) surface. A reading of 90° indicates a perfectly plumb (vertical) surface. Any deviation from these values tells you how far off level the surface is.
How accurate are smartphone level apps?
High-quality level apps can be accurate to within 0.1°, especially when properly calibrated. LevelPro includes a 2-step calibration system to correct your iPhone's sensor readings.
What's the difference between 'level' and 'plumb'?
'Level' means perfectly horizontal (parallel to the ground), while 'plumb' means perfectly vertical (perpendicular to the ground). Most level tools measure both — look for a tubular or edge mode to check plumb on walls and posts.
Do I need to calibrate a digital level before using it?
Yes, calibration matters for accurate results. A good digital level app will guide you through placing the device on a reference surface in two positions to correct any sensor offset. LevelPro's 2-step calibration system does exactly this.