
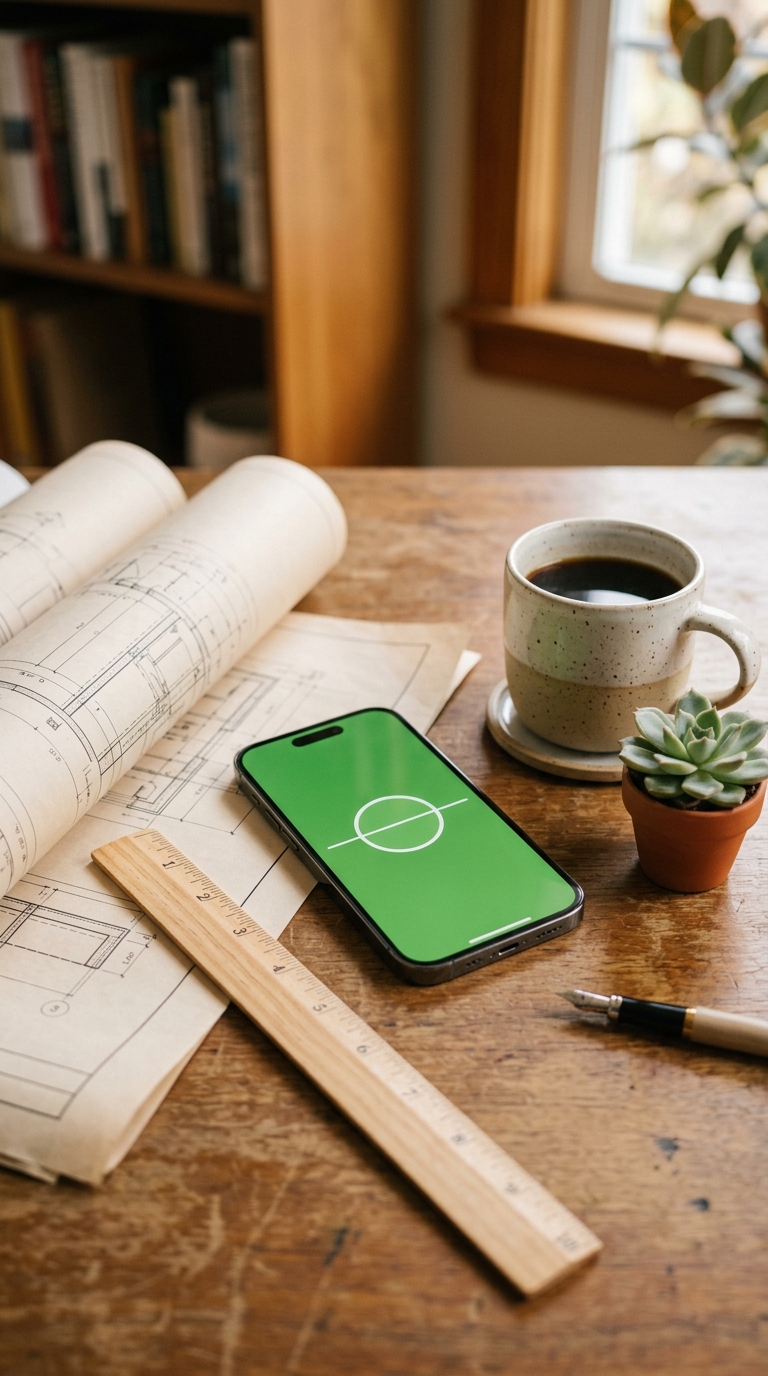
To use a bubble level on iPhone, open the Measure app, tap the 'Level' tab at the bottom, and place your iPhone flat on any surface. The screen turns green when perfectly level, showing the exact degree of tilt.
Using a bubble level on iPhone is straightforward: launch the built-in Measure app, select the Level tab, and rest your device on the surface you want to check. The display shows the current angle in real time, turning green at 0° to confirm a perfectly level surface. For more demanding tasks — like leveling along edges, setting custom target angles, or using AR camera view to see the surface beneath your device — a dedicated app like LevelPro offers professional-grade bullseye and tubular modes with haptic feedback and Apple Watch integration.
Why Your iPhone Already Has a Bubble Level Built In
Reaching for a physical spirit level every time you hang a shelf, mount a TV, or set up a camera tripod is a thing of the past. Once you know how to use bubble level on iPhone, you've got a surprisingly precise leveling tool in your pocket at all times — no batteries, no extra hardware required.
Apple built a Level function directly into iOS, tucked inside the Measure app that comes pre-installed on every modern iPhone. It uses the device's onboard accelerometer and gyroscope to detect tilt in real time, displaying the exact angle of any surface and turning the screen green when perfect level is achieved. Works on horizontal countertops, vertical wall studs, or anything in between.
For professionals — architects, photographers, builders, interior designers — a dedicated app like LevelPro brings a different level of precision to the task, with features like:
- Bullseye mode for flat, two-axis leveling
- Tubular mode for edges and walls
- AR Camera mode to see the real surface through the live camera feed
- Target Angle mode with haptic and audio feedback
- Apple Watch companion for hands-free, real-time readings
In this step-by-step guide, you'll find every method available — from the simplest built-in approach to professional-grade techniques — so you can level anything accurately.
Step 1: Set Up Your iPhone for Accurate Leveling
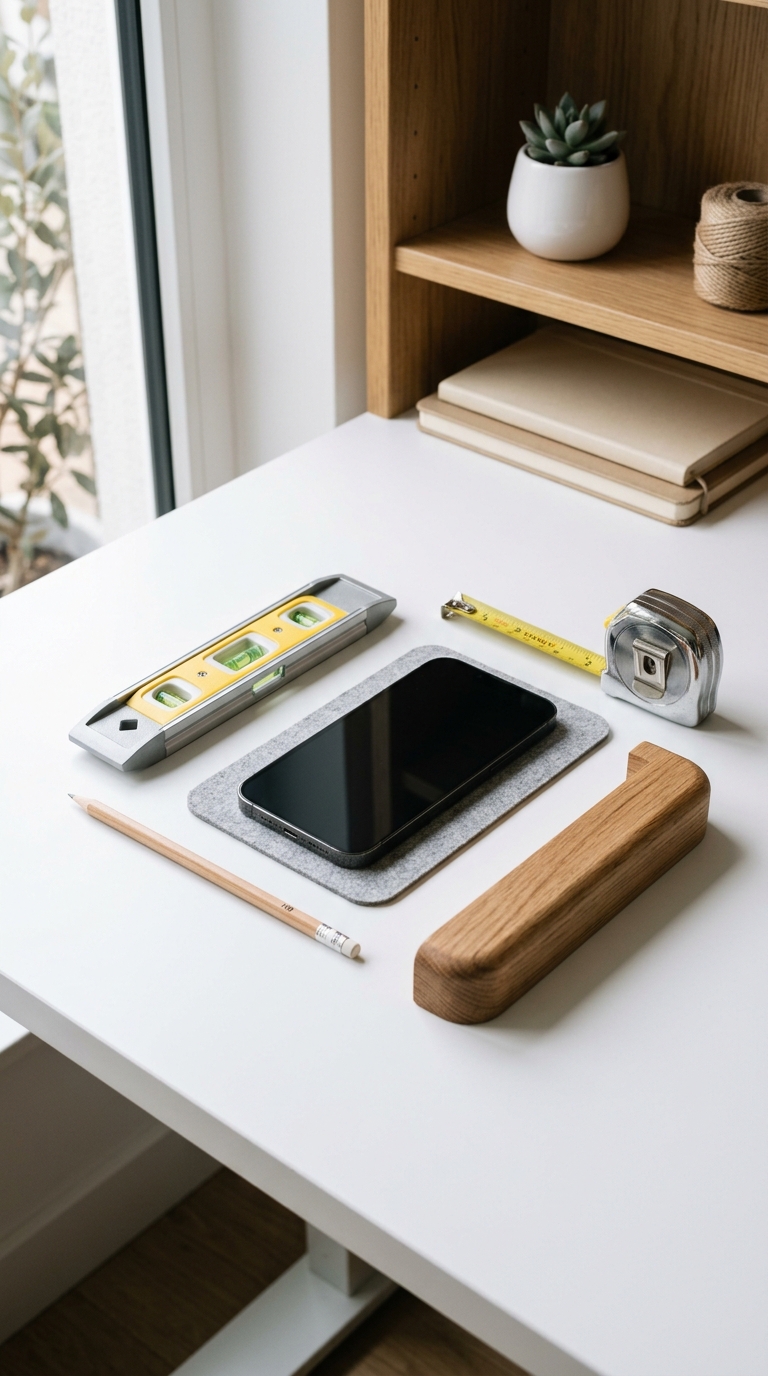
Before taking your first reading, a minute of preparation makes the difference between a vaguely level shelf and a genuinely precise one. Here's how to get everything ready.
Check that the Measure app is installed
Measure ships pre-installed on all iPhones running iOS 12 or later. If you've deleted it, open the App Store, search for "Measure", and reinstall it — it's an official Apple app. Once confirmed, put it somewhere easy to find on your home screen.
Clean your iPhone screen and case
A bulky case with uneven edges or a raised camera bump can introduce a small but consistent tilt error when you lay your phone flat. For accurate readings:
- Remove thick or uneven cases before placing the phone directly on a surface
- Wipe any debris off the back of your device
- If you need to keep the case on, use the same case consistently so your reference point stays constant
Prepare the surface you want to measure
Clear the area of dust, sawdust, or small objects that could prop up one edge of your device. Even a tiny wood shaving under a corner can skew the reading by several degrees.
Charge your iPhone (optional but practical)
Leveling sessions on a construction site or renovation project tend to run longer than expected. Starting with a full or near-full battery means you won't need to stop mid-project.
Consider a dedicated level app for demanding work
If your project calls for more than a quick check — camera rigs, furniture builds, or architectural work — it's worth browsing the best bubble level apps for iPhone before you start. Dedicated tools offer calibration, custom target angles, and bullseye modes that the stock Measure app doesn't include.
Once your phone is clean, case-free (or consistently cased), and the surface is clear, you're ready to open the app and take your first reading.
Step 2: Use the Bubble Level on Your iPhone
With your iPhone prepared and your surface cleared, it's time to take your first measurement. Here's exactly how to use bubble level on iPhone, from opening the app to reading the result.
Open the Measure App
Locate the Measure app on your home screen — it has a white icon with a ruler graphic. Tap to open it. If your iPhone prompts you to move the device slowly to calibrate the AR sensors, do so before proceeding.
Tap the 'Level' Tab
At the bottom of the Measure app, you'll see two tabs: Measure and Level. Tap Level. The screen shifts to a split black display showing a real-time degree reading at the centre.
Place Your iPhone on the Surface
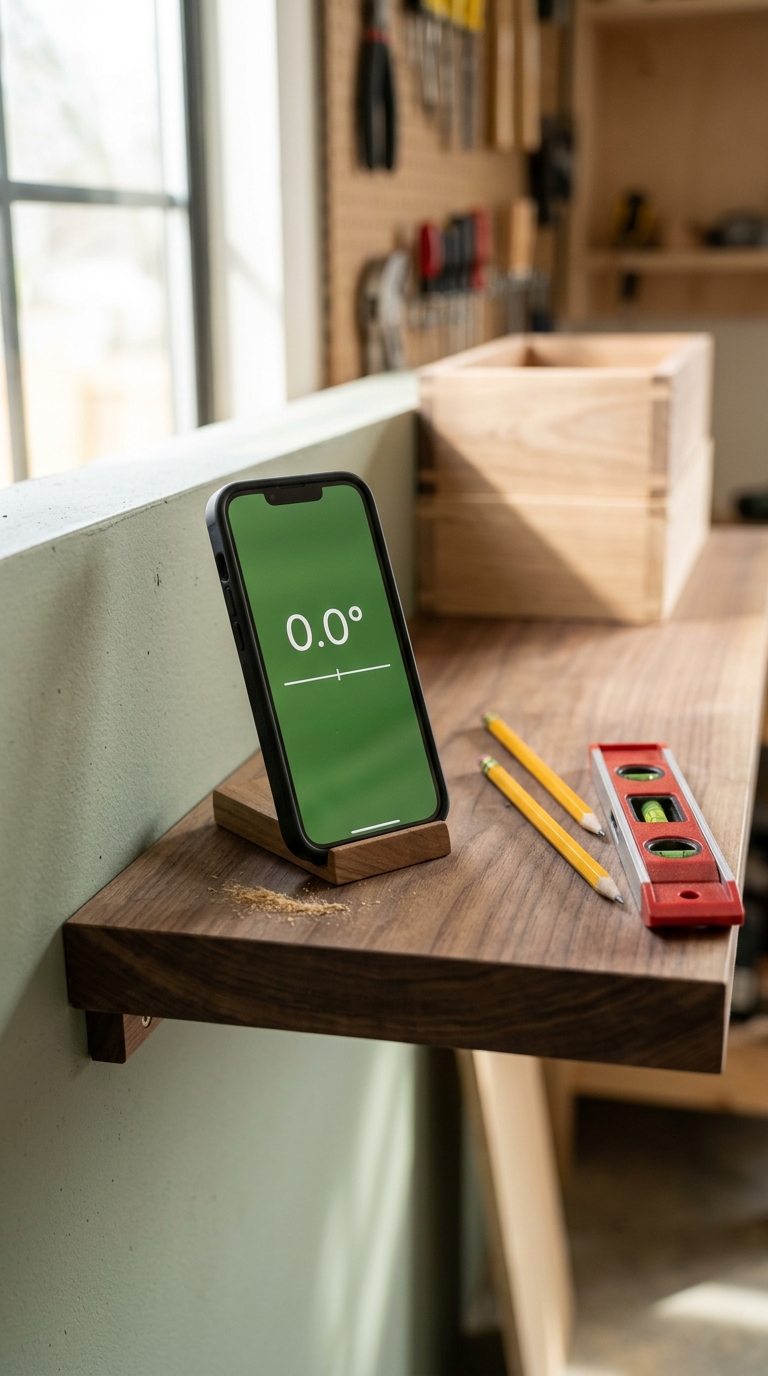
Lay your iPhone flat on the surface you want to check — a shelf, countertop, table, picture frame, or floor. Watch the degree number at the centre of the screen:
- Non-zero number → the surface is tilted by that many degrees
- 0° → the surface is perfectly level, and the screen turns solid green
- Negative number → the tilt is in the opposite direction
Read Vertical and Angled Surfaces
The Level tool isn't limited to horizontal surfaces. Hold your iPhone upright against a wall, door frame, or edge to check vertical plumb. The reading adjusts automatically based on how you're holding the device — no settings changes needed.
Set a Custom Reference Point
Not always aiming for absolute zero? If you want to match the tilt of an existing surface, tap the screen once to lock the current angle as your new zero reference. All readings then show relative to that locked angle. Tap again to reset to true level.
Tips for Accurate Readings
- Hold the device still for 2–3 seconds before noting the final number — the accelerometer settles slightly after movement
- Avoid placing your phone near magnetic objects (some speaker enclosures or metal brackets), which can interfere with sensor readings
- On uneven floors, measure in multiple spots along the same surface to build a complete picture
- For more demanding projects — furniture assembly, picture hanging, or camera positioning — tips on the best level app for hanging pictures can introduce you to bullseye leveling for tricky two-axis jobs
Going Beyond the Basics with LevelPro
The Measure app's Level tab handles everyday tasks well, but it reads along a single axis at a time. When you need to level something in two directions simultaneously — a camera platform, a kitchen appliance, or a piece of furniture — LevelPro's Bullseye mode displays tilt across both axes at once, like a traditional circular spirit level but in a dark interface with neon accents. For walls and edges, its Tubular mode mirrors the classic tube-level format with clear visual feedback.
For a comparison of dedicated apps against the stock tool, the best free bubble level app guide for iPhone is a useful reference.
Once you've taken your reading — whether the screen has gone green or you've noted the exact degree of tilt — you're ready to make your adjustment and verify the result.
Conclusion: Level Any Project With Your iPhone
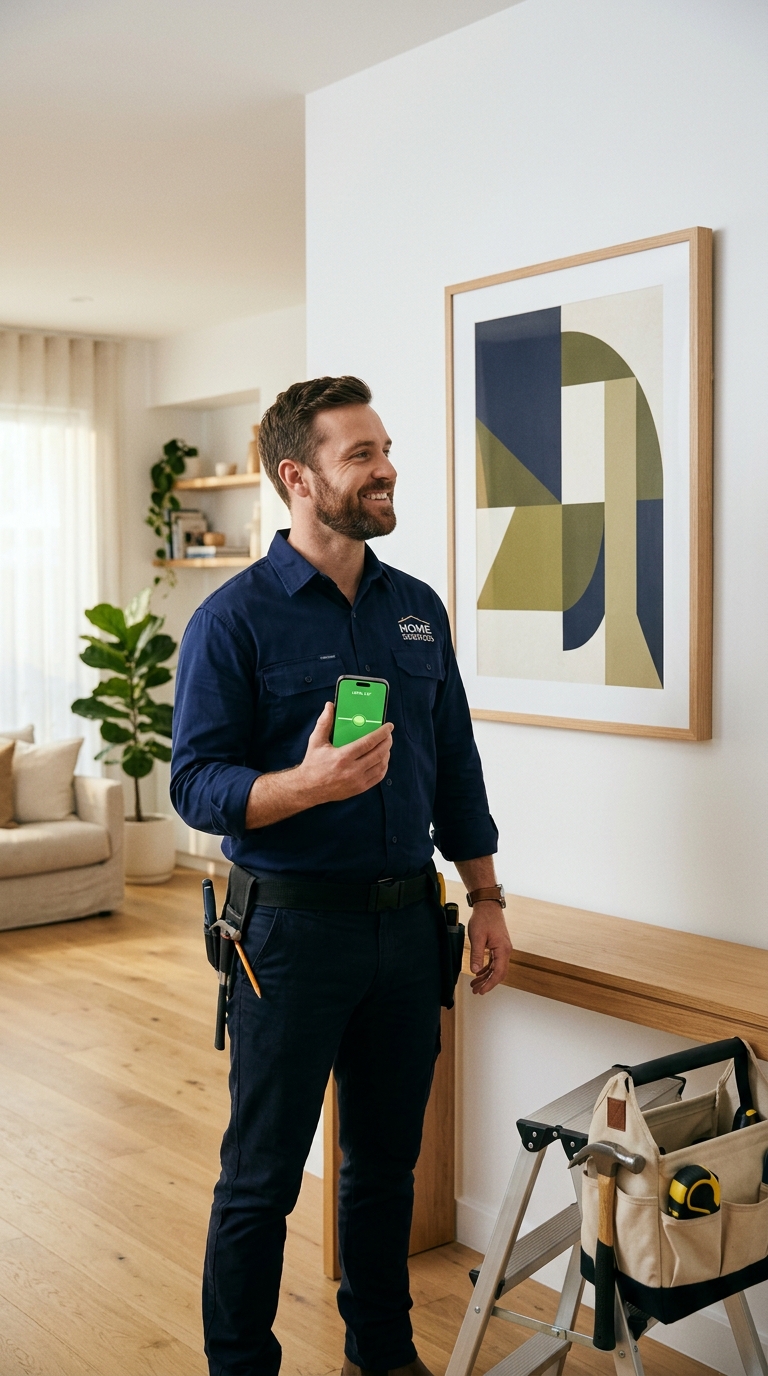
Now you know exactly how to use bubble level on iPhone — from the built-in Measure app to the professional precision of LevelPro. Whether you're hanging a picture frame, aligning a camera tripod, or checking a freshly installed countertop, your iPhone is a capable, always-available leveling tool.
Key takeaways from this guide:
- The Measure app is your starting point — open it, tap the Level tab, lay your phone flat, and read the angle in real time
- The screen turns green at 0° to confirm a perfectly level surface
- Preparation matters — a clean surface, a flat-backed device, and a moment of stillness before reading all improve accuracy
- Vertical and angled surfaces are just as easy to check — hold your iPhone upright against the edge
- LevelPro fills the gaps — two-axis Bullseye mode, Tubular mode for walls, AR Camera view, Target Angle with haptic feedback, and Apple Watch integration all go beyond what the stock app offers
For most everyday tasks — checking a shelf, leveling furniture, or confirming a floor is flat — the built-in tool is all you need. Demanding projects are where a dedicated app pays off in accuracy and speed.
Still deciding which app fits your workflow? The best spirit level app for iPhone guide offers a thorough comparison of the top options available in 2025. And if precision leveling is becoming a regular part of your work, it's worth reading about the best level tool apps for iPhone to find the feature set that matches your needs.
Your iPhone is more capable than most people realise. Put it to work.
Take Your iPhone Level Further with LevelPro
LevelPro turns your iPhone into a professional leveling instrument. Where the built-in Measure app covers the basics, LevelPro adds a Bullseye mode for flat surfaces and a Tubular mode for edges and walls — both rendered in a dark interface with refined neon accents. An intelligent 2-step calibration system keeps readings accurate over time, while AR Camera mode shows the real surface beneath your device through the live camera feed. Need to hit a precise angle? Target Angle mode delivers subtle audio and haptic feedback the moment you reach your mark. Builders, architects, photographers, and designers can read measurements in real time on their wrist via the Apple Watch companion. All features are available with an active LevelPro subscription.
Get Precise with LevelPro
Download LevelPro from the App Store and explore professional-grade leveling on your iPhone. Whether you're hanging a frame, setting up a camera rig, or finishing a renovation, LevelPro gives you the accuracy and control the job requires.
Frequently Asked Questions
Does iPhone have a built-in bubble level?
Yes. iPhones include a Level tool inside the Measure app. Open the Measure app, tap the Level tab, and place your phone on any surface to see real-time tilt readings.
How accurate is the iPhone bubble level?
The iPhone's built-in level is accurate to within about 1–2 degrees for most everyday tasks. For professional accuracy, a calibrated app like LevelPro can achieve higher precision with its 2-step calibration system.
Can I use the iPhone level to measure angles, not just flat surfaces?
Yes. Hold your iPhone upright against a wall or edge to measure vertical angles. Apps like LevelPro also offer a Target Angle mode so you can lock in a specific degree and receive audio and haptic feedback when you hit it.
What is the difference between bullseye and tubular level modes?
A bullseye (circular) level checks tilt in all directions at once, ideal for flat surfaces like tables or camera platforms. A tubular (linear) level checks tilt along a single axis, suited for edges, walls, and shelves.
Do I need to calibrate my iPhone level?
The built-in Measure app lets you set a reference point by tapping the screen. Dedicated apps like LevelPro feature an intelligent 2-step calibration system for greater long-term accuracy.