
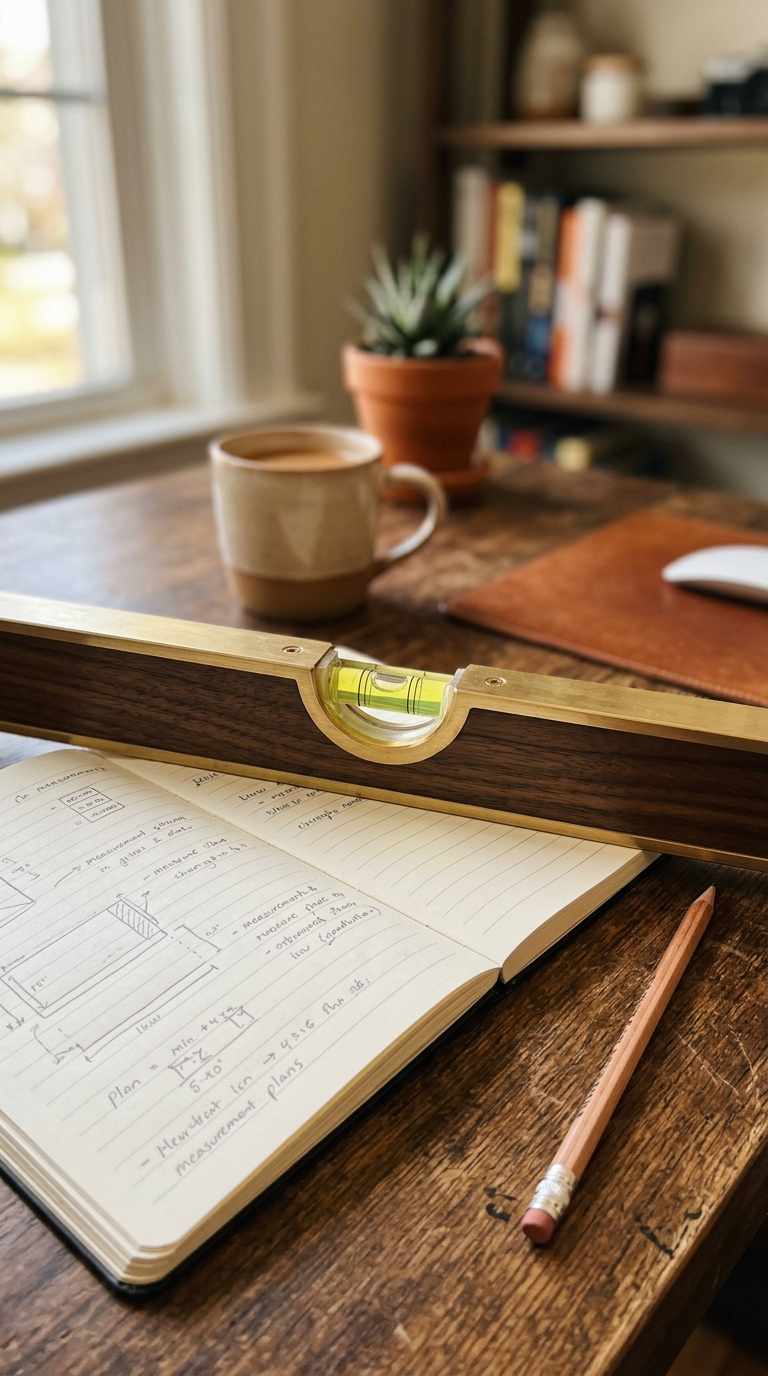
To read bubble level degrees, center the bubble between the two reference lines for 0° (perfectly level), then note how far off-center the bubble sits. Each graduation mark on the vial represents a fixed angle increment, typically 0.5° or 1°, depending on the tool's sensitivity.
Reading bubble level degrees starts with understanding the vial: the liquid-filled tube has two etched lines, and a perfectly centered bubble means 0° of tilt. As the surface tilts, the bubble shifts toward the higher end. Each graduation mark between the reference lines represents a specific angular increment, commonly 0.5° on precision levels and 1° on basic models. To get a degree reading, count how many graduation marks the bubble has moved from center and multiply by the vial's increment value. For surfaces requiring exact target angles (like a 15° camera tilt or a 3° roof pitch), a digital spirit level removes guesswork entirely by displaying the precise angle in real time.
Why Reading Bubble Level Degrees Accurately Actually Matters
Most people assume a bubble level is simple: if the bubble's in the middle, you're good. Once your project demands a specific angle, though — a sloped drain, a pitched roof, a tilted camera rig, or a precisely hung shelf — that casual read isn't enough. Knowing how to read bubble level degrees accurately is the difference between a professional result and a costly redo.
Truth is, bubble levels carry more information than most users ever extract from them. That small liquid-filled vial has graduation marks, reference lines, and a floating bubble that together encode precise angular data, if you know how to decode it.
In this step-by-step guide, you'll learn:
- What each part of a bubble vial actually tells you
- How to count graduation marks and convert them to degrees
- Why the bubble always moves toward the high side of a surface
- When a traditional vial is enough — and when a digital spirit level is the better choice
Whether you're a builder framing a roof, a photographer leveling a tripod, or a designer hanging a feature wall, this tutorial gives you a clear, repeatable process for reading bubble level degrees correctly every time.
Step 1: Choose and Prepare Your Bubble Level
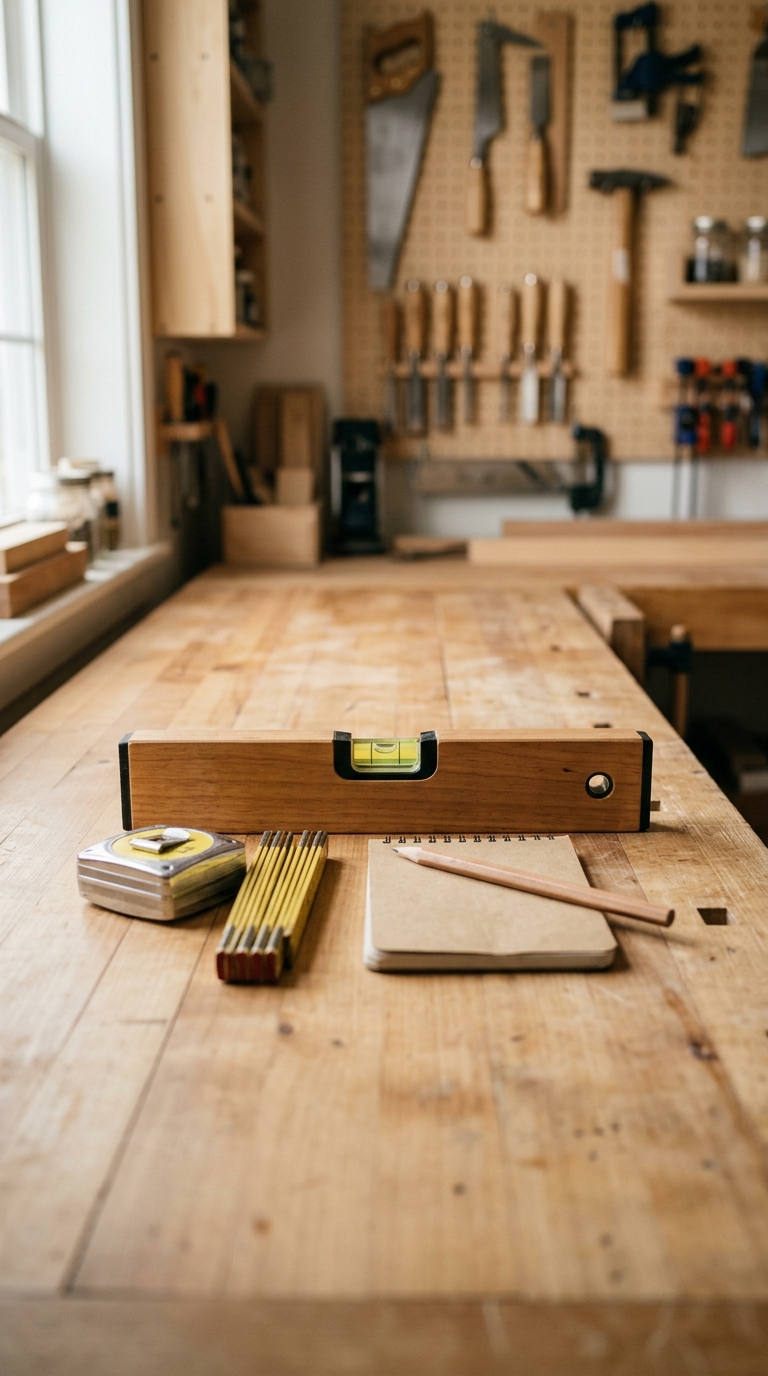
Before you can read bubble level degrees accurately, start with the right tool — and make sure it's set up correctly. A misread often begins not with poor technique, but with a poorly chosen or uncalibrated instrument.
Choose the Right Level for Your Task
Not all bubble levels offer the same degree resolution. Here's a quick breakdown:
- Basic torpedo levels — Common on job sites, these typically use 1° graduation increments. Fine for rough carpentry and general construction.
- Precision engineer's levels — Graduation marks represent 0.5° or finer. Better for millwork, cabinetry, and tighter tolerances.
- Digital spirit levels / inclinometers — Display exact degrees in real time, removing all estimation. Ideal for any work requiring specific target angles.
If you're unsure which tool suits your project, our guide on how to measure angle with a level tool app covers the practical differences in detail.
Inspect the Vial Before You Begin
Hold the level up to a light source and examine the vial closely:
- Check for air bubbles or cracks in the glass — these distort readings.
- Confirm the liquid is clear, not cloudy or discolored.
- Locate the two reference lines etched on the vial; the bubble must sit between these for a 0° (level) reading.
- Count the graduation marks between and outside the reference lines so you know the tool's increment value before measuring.
Verify Calibration on a Known Flat Surface
Even a brand-new level can be slightly off. Place it on a surface you trust to be flat — a granite countertop or a large glass pane works well. Note the bubble position, then flip the level 180° end-to-end on the same spot. If the bubble lands in the same position relative to center both times, your tool is calibrated. If it shifts, your readings will carry a systematic error.
For iPhone users relying on a digital level, calibrating your iPhone level tool is an equally important step and often takes less than a minute.
Set Up a Clean, Stable Workspace
Surface debris is a leading cause of inaccurate level readings, so don't skip this part:
With your tool verified, your workspace clean, and your eye correctly positioned, you're ready to take a real degree reading — which is exactly what Step 2 covers.
Step 2: Read the Bubble Position and Calculate the Degree
With your level prepared and your eye correctly aligned with the vial, you're ready for the core skill: translating bubble position into an actual degree value. Most people either rush or guess at this stage, and that's where a methodical approach pays off.
Understand the Vial's Zero Point First
Every bubble vial has two etched reference lines. When the bubble sits perfectly centered between those lines, the surface is at 0° — completely level. That's your baseline. Everything else is measured as a deviation from this center position.
Keep in mind: the bubble always floats toward the high end of the surface. Left side raised? Bubble moves left. Right end elevated? Bubble rides right. That tells you both the direction of tilt and, with the graduation marks, the degree of tilt.
Count the Graduation Marks from Center
Here's the step-by-step process for reading degrees on a traditional bubble level:
A Practical Example
Suppose you're measuring a countertop and the bubble has drifted two graduation marks to the right of center on a standard 1° vial:
- Marks counted: 2
- Increment per mark: 1°
- Result: the surface tilts 2° downward to the left
Using a precision engineer's level with 0.5° graduations, bubble four marks off center:
- Marks counted: 4
- Increment per mark: 0.5°
- Result: the surface tilts 2° downward away from the bubble
Watch Out for These Common Reading Errors
- Parallax error: Reading the vial from an angle rather than straight on makes the bubble appear shifted. Always read with your eye directly level with, and perpendicular to, the vial.
- Counting from the wrong reference point: Always count from the center of the bubble to the nearest reference line, not from the edge of the bubble to the edge of the vial.
- Ignoring bubble width: The bubble itself has width. Read from its midpoint, not its leading edge, for the most accurate graduation count.
- Rushing the settle time: A bubble still in motion gives a false reading. Patience here costs nothing; an inaccurate cut costs material.
When the Bubble Goes Beyond the Vial's Graduation Range
Most standard bubble vials only show accurate readings within a small range around center, typically ±5° to ±10° at most. If your surface is steeply tilted and the bubble has traveled beyond all graduation marks or out of sight entirely, a standard vial can't give you a usable degree reading.
For surfaces with larger or more specific tilt requirements — a 15° camera mount, a 30° rafter angle, or a precisely specified drainage slope — you need a tool designed for that range. Understanding how to use a spirit level app becomes genuinely valuable here: a digital spirit level reads any angle from 0° to 90° with equal precision, instantly, without asking you to count anything.
For work that combines everyday leveling with specific target angles, this graduation-counting method gives you a reliable fallback. Knowing its limits, though, is just as important as knowing how to apply it.
You Now Know How to Read Bubble Level Degrees — Here's What to Do Next
Reading bubble level degrees accurately is a skill that pays off every time you pick up a level. You now have a repeatable, methodical process: inspect and verify your vial, identify the zero reference, count graduation marks from center, multiply by the tool's increment value, and note the tilt direction. That sequence works whether you're framing a roof, leveling a countertop, setting a camera angle, or aligning a piece of furniture.
But it's worth being honest about what a traditional bubble vial can't do:
- Graduation marks can only be so precise, and reading them through glass at speed introduces real human error.
- Standard vials max out at ±5° to ±10°, so any steep or specific target angle requires a different approach.
- Estimating between marks is still estimation, no matter how experienced you are.
For work that demands real precision, a digital spirit level removes every one of those constraints. It reads from 0° to 90° with equal reliability, displays the exact degree value without any counting, and with a Target Angle feature, tells you the moment you've hit your specific number. For professional or high-stakes work, it's simply the more efficient tool.
Want to go deeper? Our guide on how to use a bubble level on iPhone walks through how to get professional-grade readings directly from your phone, no separate hardware required. And if you're wondering whether a free app can genuinely replace a physical level for everyday tasks, the roundup of the best free bubble level apps for iPhone gives you a clear, honest comparison.
The bottom line: Traditional bubble levels remain reliable, portable, and valid instruments when you understand how to read them. Now that you do, every measurement you take will be more intentional — and every result more accurate.
Read Exact Degrees Instantly with LevelPro
Where traditional bubble vials require estimation, LevelPro shows the precise angle in real time — no graduation counting, no guessing. In Tubular mode, the display mirrors a spirit level's familiar layout but replaces vague markings with a live degree readout. In Bullseye mode, you see tilt on both axes simultaneously. The Target Angle feature lets you dial in a specific degree — say 15° or 3.5° — and receive haptic and audio feedback the moment you hit it. A built-in 2-step calibration system ensures every reading is accurate to your specific device, and AR Camera mode lets you see the actual surface beneath your iPhone or iPad while measuring. For architects, builders, photographers, and designers who need real numbers rather than estimates, LevelPro displays them on a dark interface and on your wrist via the Apple Watch companion app.
Stop Estimating — Start Reading Real Angles
If this guide made you realize how much guesswork goes into reading a traditional bubble vial, try LevelPro on your iPhone or iPad. It shows your exact degree reading the moment you place your device — no counting, no math, no error. Download it and see what a digital spirit level can do.
Frequently Asked Questions
What does it mean when the bubble is centered on a spirit level?
When the bubble sits perfectly between the two reference lines, the surface is at 0° — completely level or plumb, depending on the orientation of the vial.
How many degrees does each graduation on a bubble level represent?
It depends on the tool. Basic bubble levels use 1° increments per graduation, while precision or engineer-grade vials use 0.5° or even finer increments. Always check the manufacturer's specification.
Can I read exact degrees with a traditional bubble level?
Traditional bubble levels give approximate degree readings based on graduation marks. For exact angles — especially anything beyond ±5° — a digital spirit level is far more reliable and readable.
Why does the bubble move toward the high side of a surface?
The bubble is lighter than the surrounding liquid, so it floats to the highest point inside the vial. That's what makes it a reliable indicator of tilt direction.
How do I read degrees on an inclinometer vs. a standard bubble level?
An inclinometer shows degrees directly on a numbered scale, while a standard bubble level requires you to count graduation marks from center and multiply by the vial's increment value. Inclinometers, including digital spirit levels, are generally more precise for angle-specific work.