

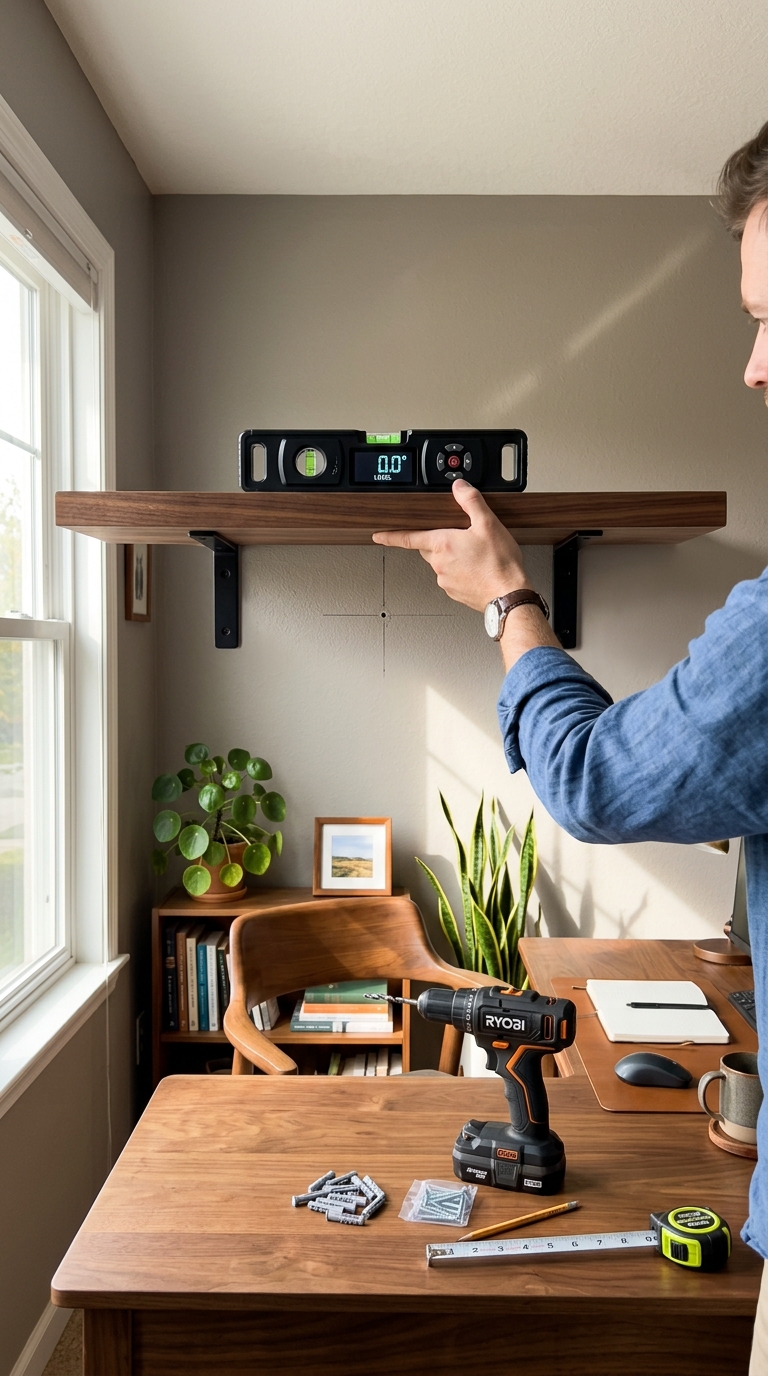
To use a level tool for hanging shelves, hold the level against your shelf or a pencil line on the wall, adjust until the bubble (or digital indicator) centers perfectly, then mark and drill your anchor points. This ensures your shelf is perfectly horizontal before any screws go in.
Using a level tool for hanging shelves involves four key steps: marking your desired shelf height, placing the level along that line to confirm it's perfectly horizontal, transferring accurate drill-point marks to the wall, and verifying the shelf again after mounting. Digital spirit levels, especially smartphone apps like LevelPro, simplify this process with real-time angle readouts, haptic feedback for perfect zero, and an AR camera mode that lets you see the wall surface directly through your screen, reducing guesswork and measurement errors.
Why Using a Level Tool for Hanging Shelves Changes Everything
Almost every DIYer has been there: you spend an afternoon hanging shelves, step back to admire your work, and notice they're crooked. The culprit is nearly always the same, skipping or misusing a level tool.
Knowing how to use a level tool for hanging shelves is the single most important skill you can bring to this project. Strong wall anchors and stylish brackets don't matter if the shelf isn't perfectly horizontal. Everything placed on it will slide, wobble, or just look off. A level tool removes the guesswork before a single screw goes into the wall.
This tutorial walks you through the entire process, step by step:
- Marking your desired shelf height on the wall
- Placing and reading your level tool accurately
- Transferring drill-point marks with precision
- Verifying the final result after mounting
Whether you're using a classic bubble (spirit) level from the hardware store or a digital level app like LevelPro on your iPhone, the core principles are the same, though the precision and ease differ. Digital tools offer real-time angle readouts, haptic feedback the moment you hit 0°, and an AR Camera mode that lets you see the actual wall surface beneath your device.
Before you pick up a drill, read this guide. A few minutes of careful leveling will save you from patching holes, repainting walls, and redoing the job from scratch.
Step 1: Gather Your Tools and Prepare the Wall
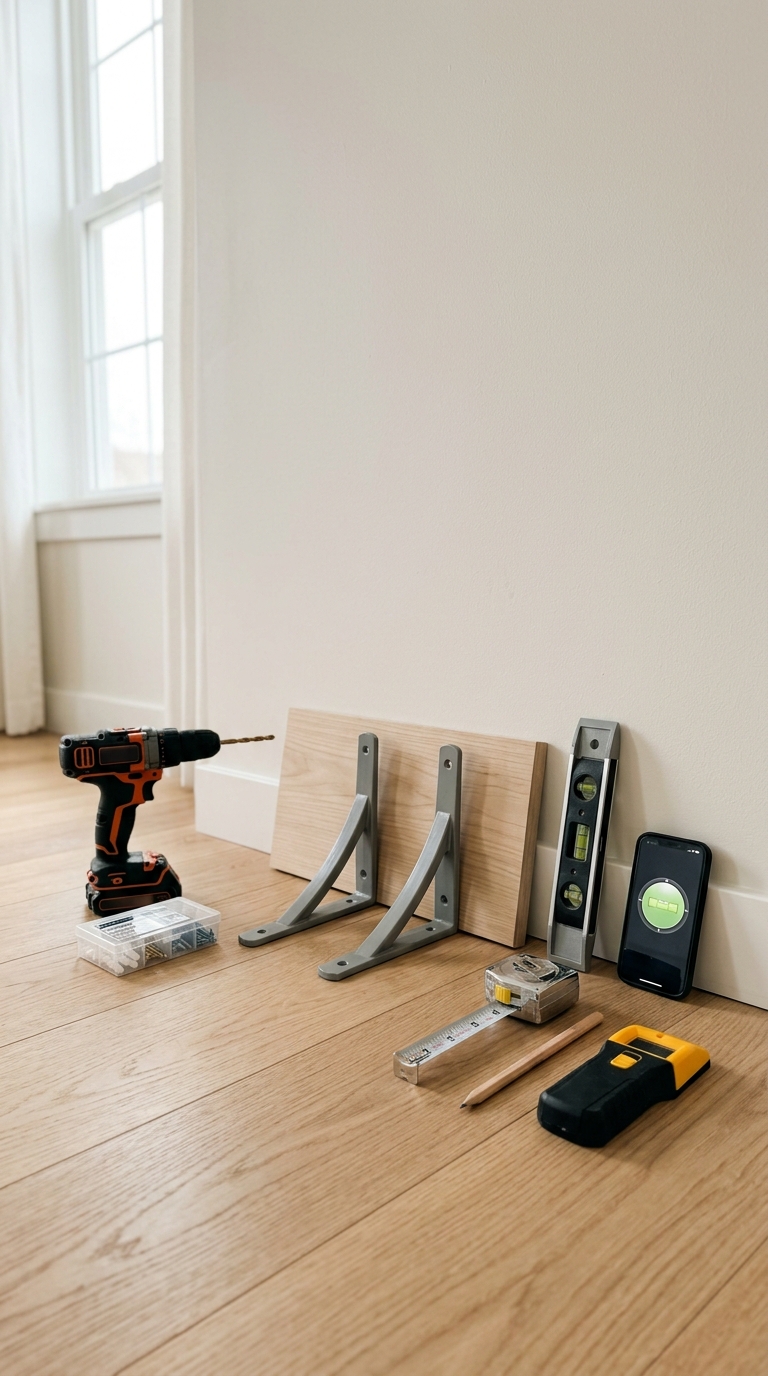
Good results start before you ever touch the wall. Taking five minutes to set up properly, choosing the right tools, clearing your workspace, and understanding your surface, will save you more time later. Most DIYers cut corners here, and it's exactly why shelves end up crooked.
What You'll Need
Before you begin, gather everything in one place:
- Level tool — a torpedo (bubble) level, a standard 24" spirit level, or a digital level app like LevelPro on your iPhone
- Pencil — for marking the wall (avoid pens, they bleed through paint)
- Tape measure — to set the shelf height from the floor or ceiling
- Shelf brackets and hardware — including wall anchors appropriate for your wall type
- Power drill and drill bits — matched to your anchor size
- Stud finder — strongly recommended for solid, lasting installation
If you're using a digital level, make sure your app is calibrated before you start. An uncalibrated level, physical or digital, is a common cause of shelves that still look slightly off after careful work. For a full walkthrough, see our guide on how to calibrate your iPhone level tool before going further.
Prepare Your Wall
Pro tip: Installing multiple shelves on the same wall? Mark all your height measurements at once. It's easier to check spacing relationships before any holes are drilled.
Knowing how to check if a surface is level before you begin marking can also reveal whether the floor or ceiling is a reliable visual reference or is subtly misleading your eye. In many older homes, neither is truly horizontal.
Once your workspace is set and your tools are ready, you're prepared to move to the most critical part: drawing an accurate, perfectly horizontal line on your wall.
Step 2: Mark Your Level Line and Set Your Drill Points
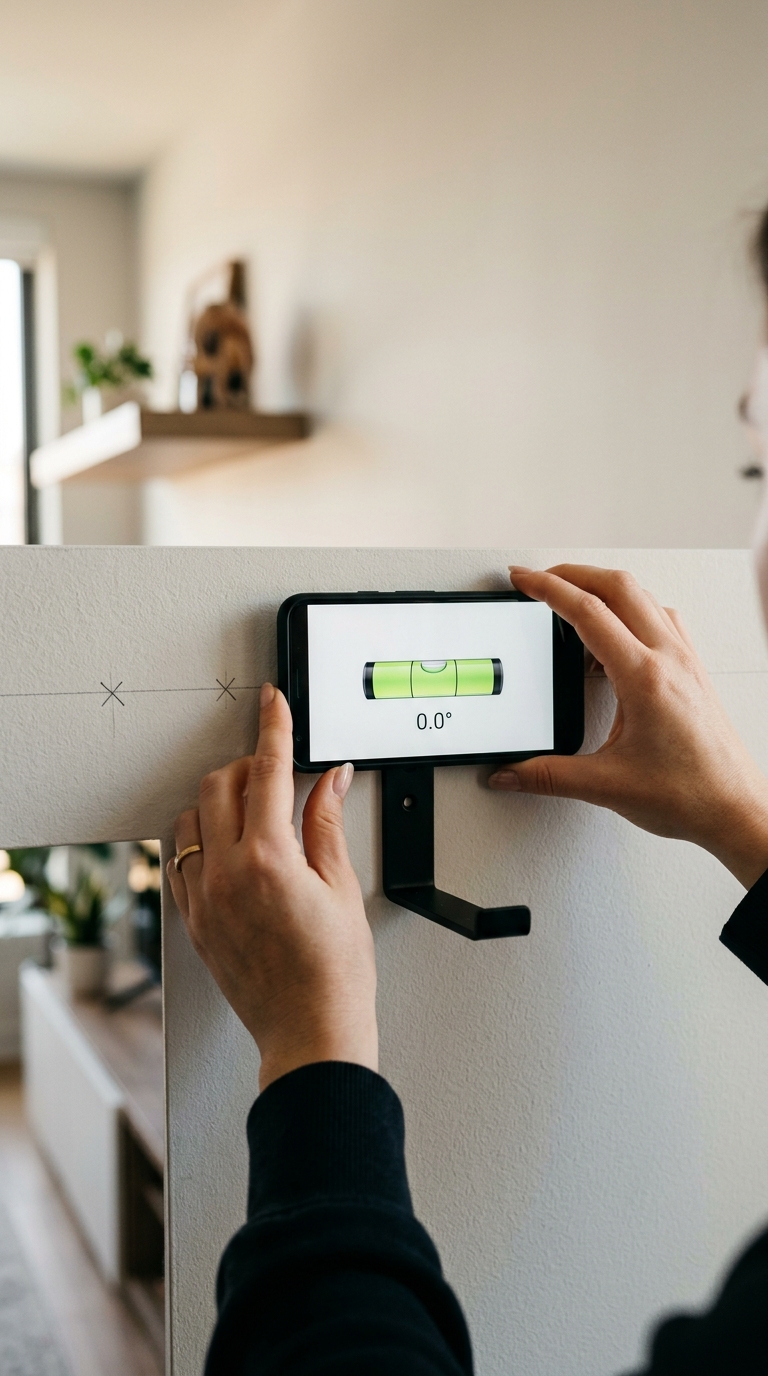
With your tools ready and your wall prepped, it's time for the most critical execution phase: drawing an accurate horizontal reference line and marking your exact drill points. Your level tool does its core job here, and getting it right means the difference between a shelf that looks professional and one that looks like an afterthought.
Place Your Level Tool Against the Wall
Start at the pencil mark you made in Step 1, your desired shelf height. Hold your level tool against the wall at that height, with one end touching your reference mark.
- Bubble level: Watch the bubble inside the vial. Adjust the angle of the tool until the bubble sits perfectly centered between the two lines. Don't rush this, small hand movements can throw it off.
- Digital level app (LevelPro): Open the app in Tubular mode, designed for reading horizontal alignment along a straight edge. The real-time degree readout shows exactly how far off horizontal you are, down to a tenth of a degree. When you hit 0.0°, LevelPro's haptic feedback confirms it with a subtle pulse, so you don't need to keep watching the screen.
Pro tip: Working alone? Use LevelPro's Hold function to freeze the reading once you've found level. You can then mark the wall without losing your measurement and without needing a second pair of hands.
Draw Your Reference Line
Once the level reads perfectly horizontal:
This pencil line is your anchor. Every bracket and drill point will be referenced from it.
Mark Your Drill Points
With your reference line drawn, position your shelf bracket against the wall so its mounting holes align with the line. Use your pencil to mark through each bracket hole directly onto the wall. Those marks are your drill points.
Key things to check before drilling:
- Both marks are on your reference line — not above or below it
- Bracket spacing matches your shelf length — typically equal distance from each end
- Marks align with studs where possible — cross-reference with your stud finder marks from Step 1
Working with multiple brackets across a longer shelf? It's worth reading how to use a spirit level app for extended surface checks, particularly how to bridge measurements across wide spans without losing accuracy.
Double-Check Before You Drill
Before picking up the drill, take 30 seconds to verify:
For display shelves, glassware, or anything where precision matters, this is also a good moment to use the AR Camera mode in LevelPro. Seeing the actual wall surface beneath your device lets you confirm your marks are placed on a flat, consistent section of wall, not a raised texture or uneven patch that could skew your bracket alignment.
Many DIYers skip straight to drilling without this verification pass. Two minutes here prevents 45 minutes of patching, sanding, and repainting later. Once you're confident both marks are accurate, you're ready to drill, and your shelf is already as good as level before a single anchor goes in.
Hanging picture frames or other wall items nearby? Our guide on how to level a picture frame with your phone covers keeping your entire wall arrangement cohesive and straight.
Conclusion: Level Tools Make Every Shelf a Success
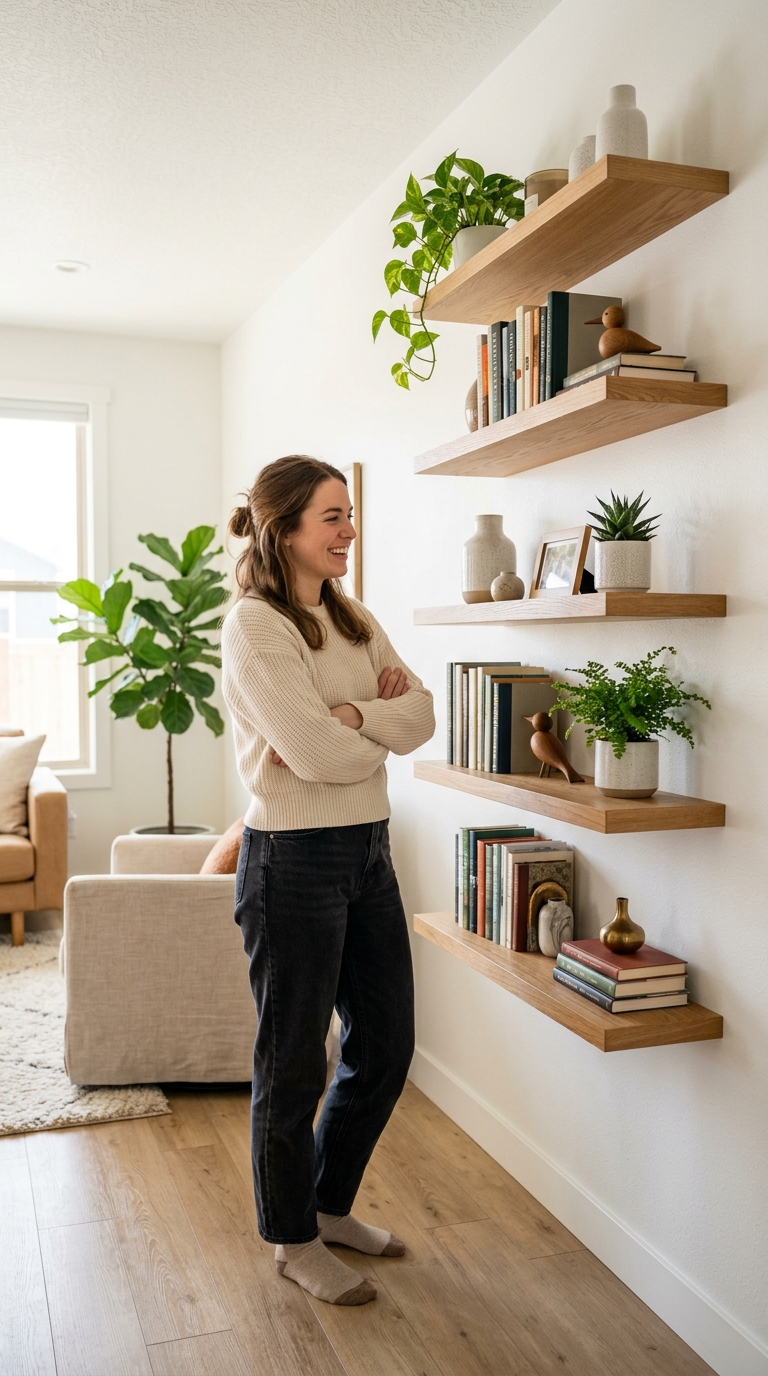
Hanging shelves doesn't have to be a trial-and-error process. Knowing how to use a level tool for hanging shelves, and using it at every stage, is what separates a clean, professional result from a frustrating do-over. Precision takes minutes but saves hours.
Here's a quick recap of the process:
- Prepare thoroughly — gather your tools, locate studs, and check your wall surface before touching the wall
- Mark your reference line carefully — let the level tool do the work, not your eye
- Verify your drill points twice — one pass before drilling, one after mounting
- Trust the tool, not your instincts — walls, floors, and ceilings are rarely as straight as they look
Once you've done it once with proper technique, every shelf installation after that gets faster and more intuitive. The same approach works for floating shelves, bracket shelves, built-ins, and kitchen cabinetry.
If you've been using a traditional bubble level and want to try something different, a digital level app like LevelPro is worth considering. Real-time readouts, haptic confirmation at 0°, and AR Camera mode address the small uncertainties that bubble levels leave behind.
For your next project beyond shelves, the same precision principles apply. Our guide on how to level a picture frame with your phone walks through that process in similar detail, and how to measure angles with a level tool app covers a useful technique for crown molding, angled cuts, and more complex installations.
Hang it level. Hang it once.
LevelPro: A Precise Tool for Hanging Shelves
LevelPro turns your iPhone or iPad into a digital spirit level suited to tasks like hanging shelves. Tubular mode reads horizontal alignment along a shelf's length, while Bullseye mode handles flat surface checks. The 2-step calibration system ensures your readings reflect your actual surface, not just your device's factory defaults. When positioning brackets in tight corners or awkward spots, the Hold function freezes your current reading so you can mark the wall without losing your measurement. Target Angle mode with haptic and audio feedback signals the instant you've hit 0° (or any custom angle), and the AR Camera mode lets you see the actual wall surface beneath your phone for context-aware leveling. LevelPro is available on iPhone and iPad with an active subscription.
Ready to Hang Your Shelves with Confidence?
Download LevelPro and follow the steps in this guide using a tool built for precision work. No more eyeballing, no more crooked shelves, just accurate results. Try it on your next project and see what a professional-grade digital level adds to your process.
Frequently Asked Questions
What type of level tool is best for hanging shelves?
A tubular (torpedo) level or a digital spirit level works well for hanging shelves. Tubular levels are ideal for reading horizontal alignment along the length of a shelf, while digital levels provide exact angle readouts and audio/haptic feedback for faster, more accurate results.
Can I use my iPhone as a level tool for hanging shelves?
Yes. An app like LevelPro turns your iPhone into a digital spirit level with both Bullseye and Tubular modes, making it effective for shelf installation. The AR Camera mode lets you see the wall surface beneath your device for more precise placement.
How do I know my shelf is level without a physical bubble level?
Place a digital level app on your shelf and watch the real-time angle readout. When the reading shows 0.0°, your surface is perfectly horizontal. Apps like LevelPro also provide haptic and audio feedback the moment you hit the target angle.
Should I level the shelf before or after drilling?
Always level before drilling. Use the level tool to mark a precise horizontal line on the wall first, then position your shelf bracket holes along that line. This prevents mistakes that require patching and re-drilling.
How accurate does a level need to be for shelves?
For most shelves, an accuracy of ±0.1° is sufficient. Display shelves holding glassware or precision items benefit from a tighter tolerance. Digital levels typically offer greater accuracy than traditional bubble levels.
What if my wall isn't perfectly flat — can I still level a shelf correctly?
Yes. Place the level directly on the shelf itself after mounting rather than on the wall. With LevelPro, the AR Camera mode helps you see the actual surface beneath your phone, accounting for wall irregularities and giving you a true reading.